Instapot Yogurt
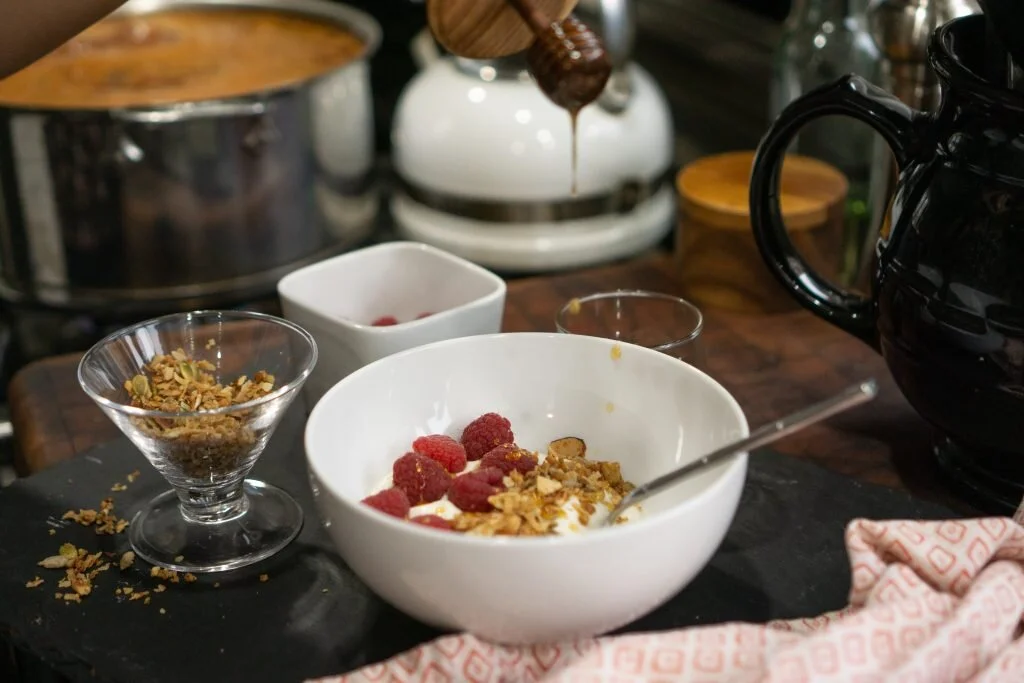
How many times have you grabbed an enticing tub of yogurt only to turn it around and find a bunch of fillers, thickeners, gums, and sugar? Sound familiar? Ya, I thought so. My sister Loretta is the queen of all things fermented, sourdough, Lacto-fermented veggies, and kombucha. So naturally, it seemed fitting for her to create a yogurt recipe as well. Is there anything she can’t do?
So I called her up and asked her if she’d be willing to share her recipe with you all on the blog and thankfully she obliged. So full credit goes to Loretta for the method and recipe!

1.Take the seal out of your Instapot
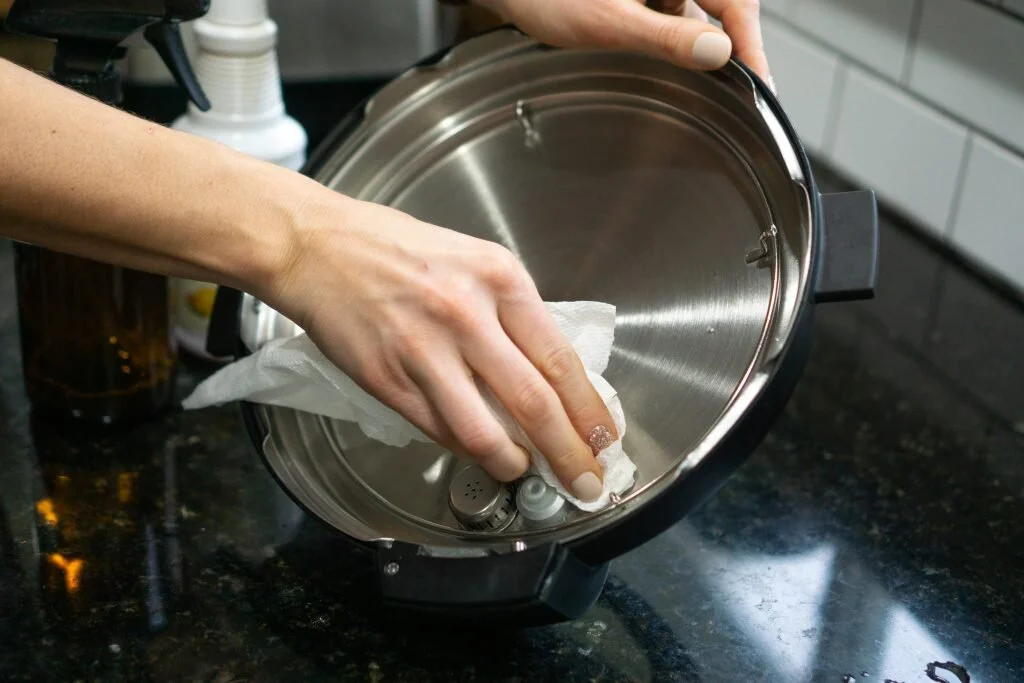
Trust us on this one. Unless you’d like your yogurt to smell like your last batch of curry, go ahead and take out seal from your instapot lid and give it a good wipe down with some kind of natural cleaner or simply hot water. Do not put the seal back in!
2. Heat milk
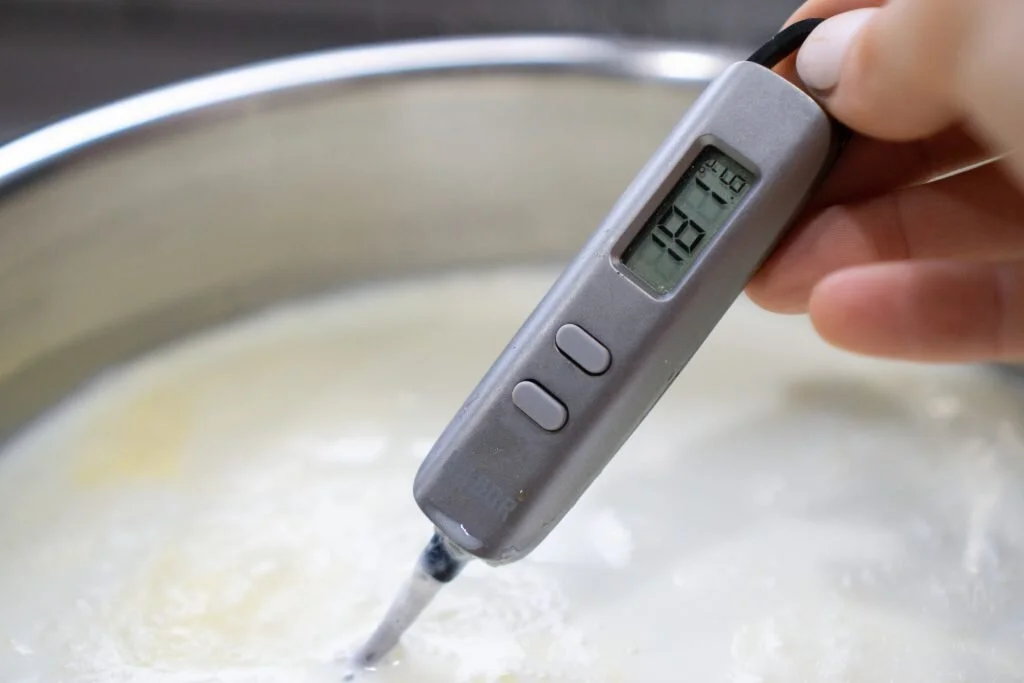
Here we used a full gallon of milk but regardless of how much milk you use, be sure and heat it up to 180 F. Some people like to let it hang out there for 10 minutes or so but ain’t no one got time for that.
3. Cool Milk
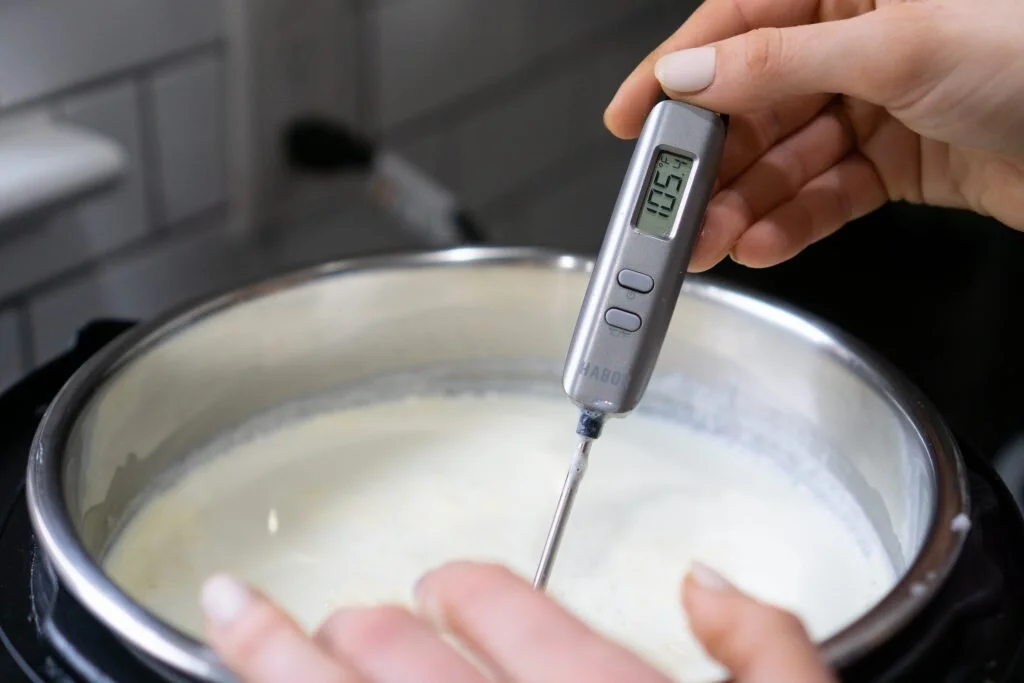
Be sure and bring the temperature down to 110 F. You can do this by sticking the instapot base into an ice bath or (preferably) just let it cool down naturally at room temperature.
4. Add Yogurt Starter
This is obviously a very vital step. Without the yogurt starter, you won’t really get yogurt. Just select an unsweetened yogurt with nothing in it other than milk + live cultures. Add 1/4 c. yogurt per 1 qt. milk.
5. Set Instapot to 10-12 hrs
Now you just set the lid on ( on the vent position), push the yogurt button, and set it for 10-12 hours. The longer you let it sit the more tart it will be. I’ve already done 8 hours but I do think longer is better. I love filling it up in the evening then it can just slowly culture away all night and be ready to strain and mix in the morning. Easy peasy.
6. Strain Yogurt
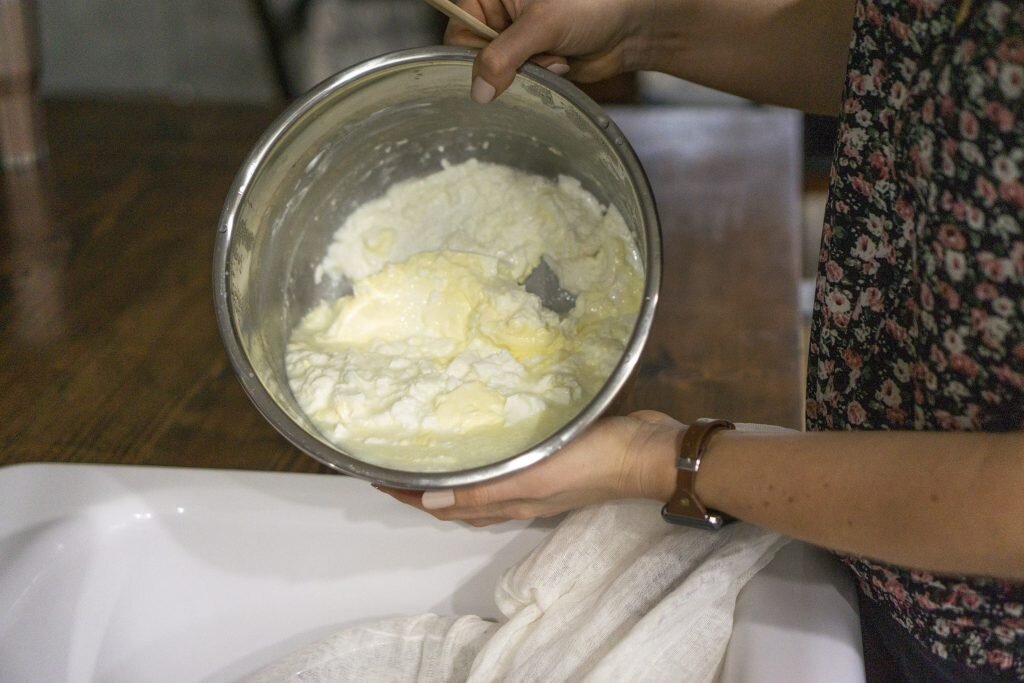
When you get to this step, chances are your yogurt is going to look mighty funky. And that’s ok! It might look separated, watery chunky, but don’t worry. Now you want to get a cheesecloth and place it over a strainer. Then place the strainer + cheesecloth over a bowl to catch the whey. Like so.
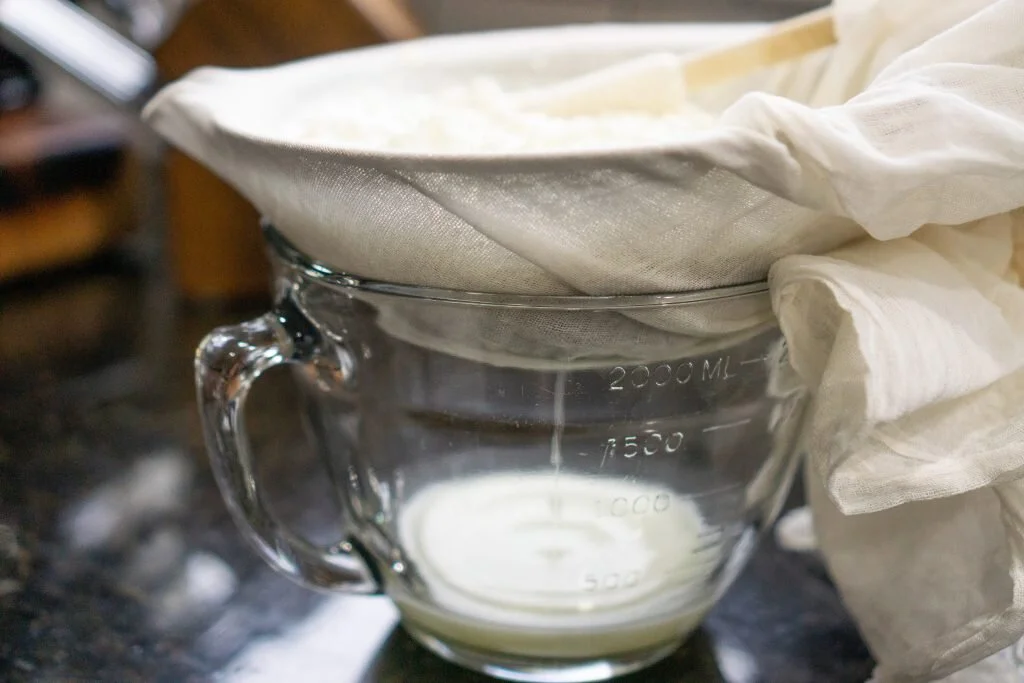
Once you’ve strained as much whey off as you’d like, it’s time to move it to the blender. The longer you strain it, the thicker the actual yogurt will be. Most times I go for about 15-20 min of straining.
7. Reserve Yogurt Starter
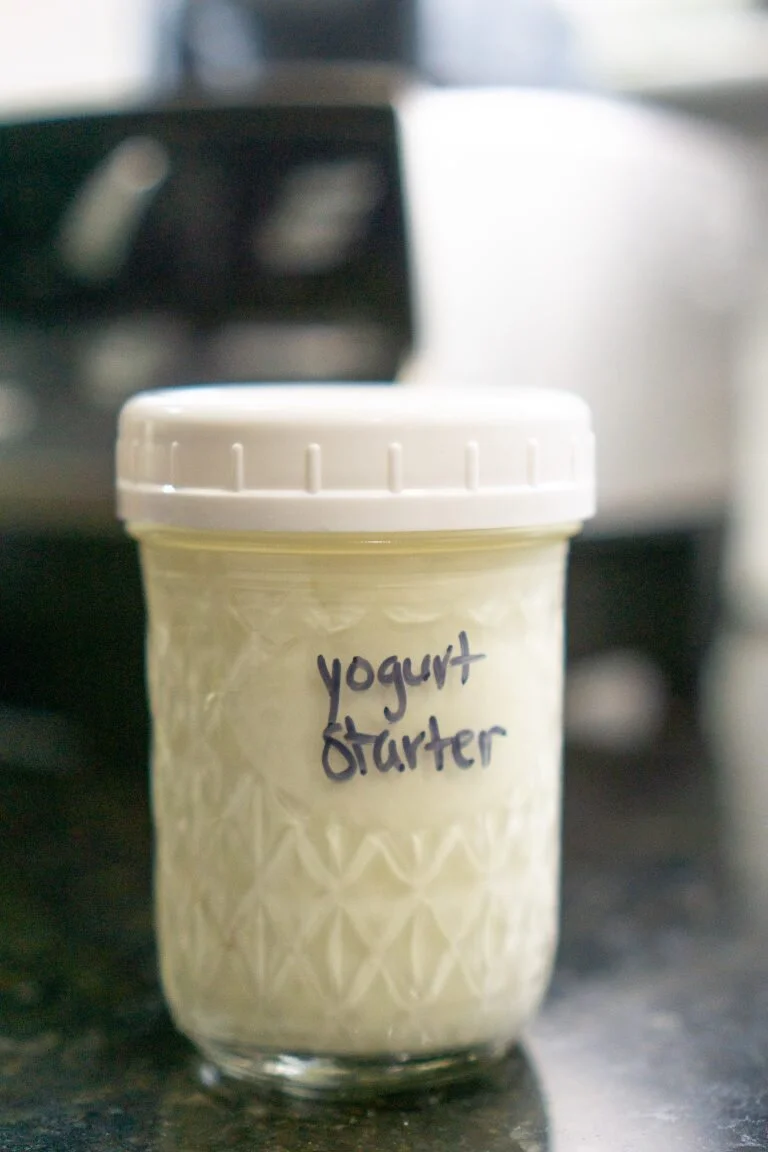
This is a step you don’t want to forget unless you want to run to the store next time you want to make yogurt. Simply dish out about a cup or so of the yogurt and put it in the fridge for next time you make yogurt. This will be your yogurt starter for next time!
8. Blend
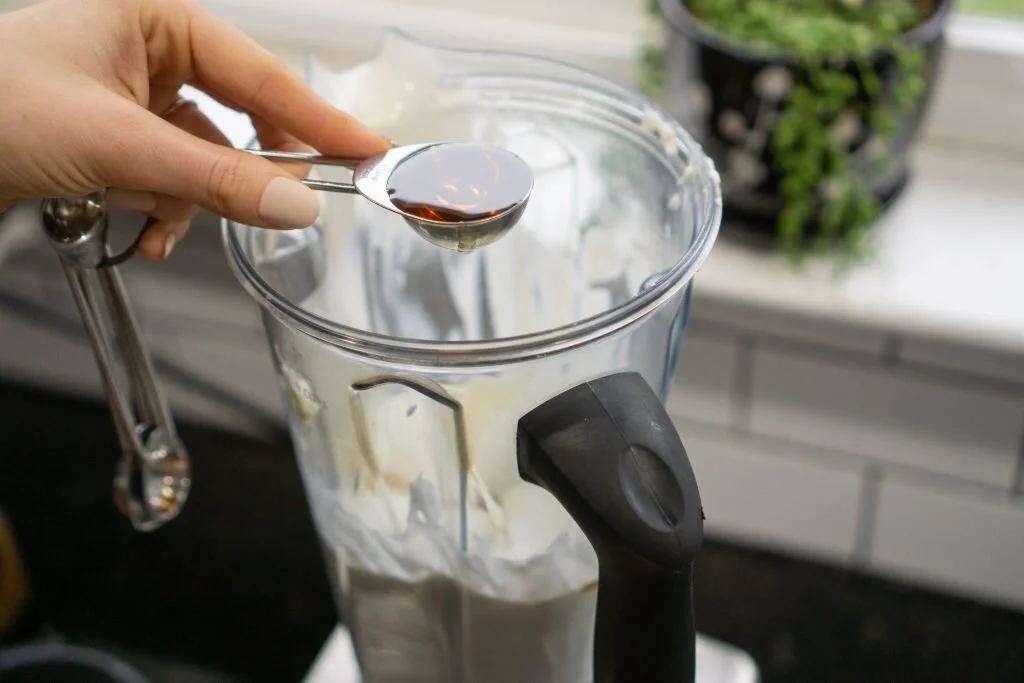
Now we’re almost done! We love adding 1 tsp vanilla to each qt. of yogurt as well as about 2-3 T. maple syrup for each qt of yogurt. If you don’t want any flavoring or sweetness simply omit. It won’t affect the texture at all. Now blend! You’ll want to blend just enough to mix it well and get the lumps out. Too much and you can break down the yogurt and it’ll get soupy. It’s super gross when that happens!
9. Refrigerate and Enjoy!
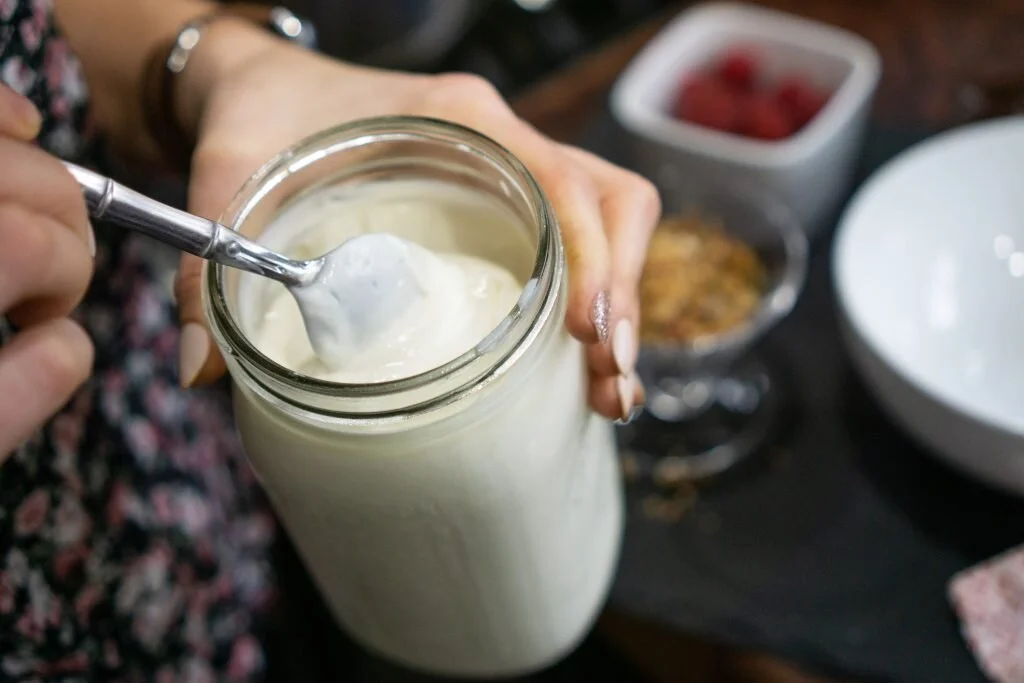
Lastly, you just stick those cute little jars in the fridge and enjoy some beautiful creamy yogurt in a few hours.
When you give this recipe a try, be sure and tag Loretta and me both on our social media accounts. We can’t wait to see all your yummy creations!